
Creative Materials & Tools
Scrapbooking is a blend of creativity and craftsmanship, and the materials you choose play a vital role in the beauty and longevity of your work. The right paper, adhesive, and decorative tools can turn a simple design into a visually captivating piece that tells a story. Understanding how to select and use these materials not only enhances your results but also deepens your connection to the creative process.
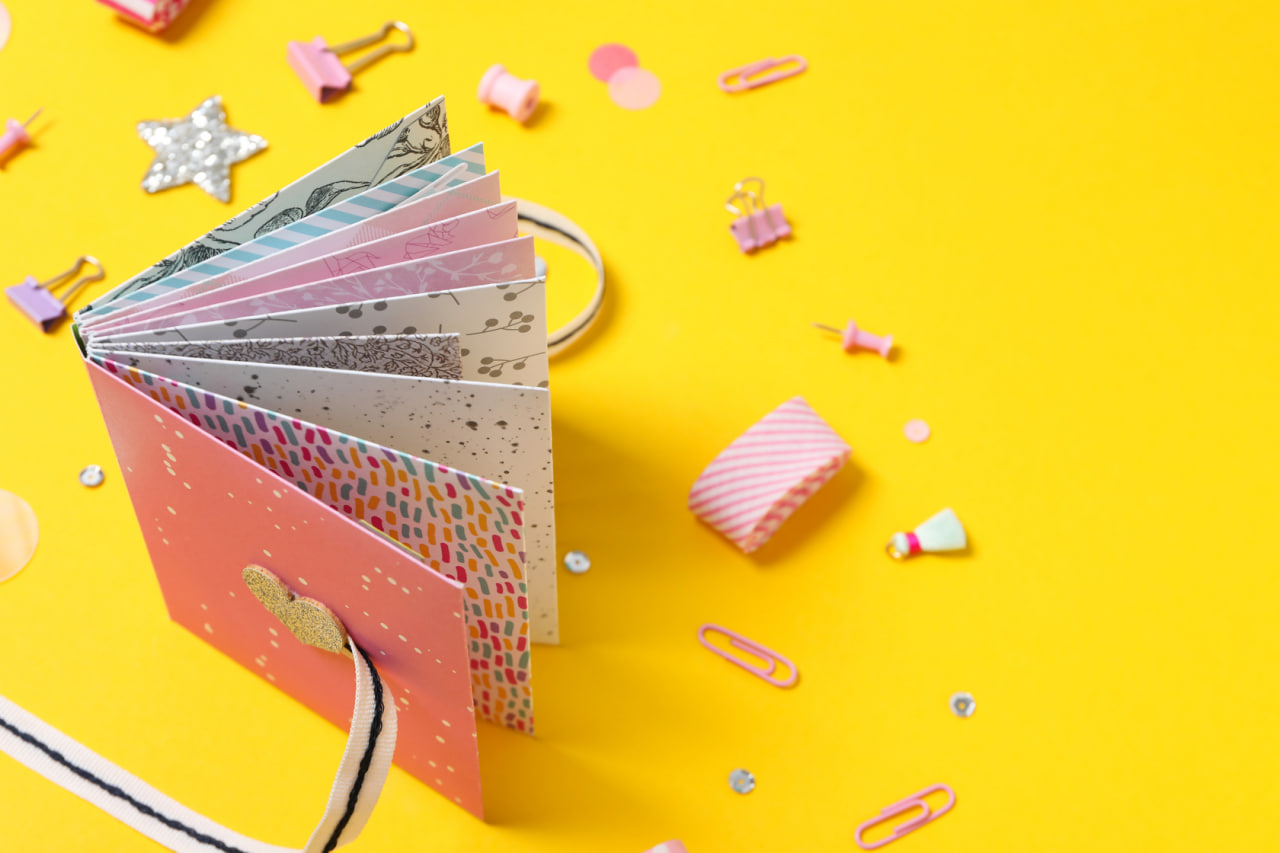
The Foundation of Every Scrapbook: Paper
Paper is the heart of every scrapbook project. It sets the tone, structure, and mood of each page. Choosing high-quality, acid-free, and lignin-free paper is essential for preserving your photos over time, as these prevent yellowing and fading. Cardstock provides a strong, stable base, making it perfect for background layers or die-cut shapes.
Patterned paper adds character and emotion to your layouts. Florals can evoke warmth and nostalgia, while geometric designs bring modern energy. Mixing solid and patterned papers helps maintain balance and visual interest. For advanced designs, try layering translucent vellum or textured paper to create dimension and depth.
When selecting paper, think about the story you’re telling. Soft pastel shades might suit a baby album, while bold colors and metallic tones could enhance a travel or celebration theme. Keep a mix of neutral and vibrant papers in your collection so you can adapt to any project.
Adhesives: Keeping Everything in Place
Adhesives are the invisible heroes of scrapbooking. They secure your work while maintaining flexibility and durability. A good adhesive should be photo-safe, strong, and easy to apply without damaging the paper.
Double-sided tape is one of the most popular options for attaching photos and paper layers. It provides a clean finish with no mess. Glue dots are great for adding embellishments such as buttons, sequins, or small decorations. For delicate materials like lace or vellum, a fine-tip liquid glue pen allows precision and prevents visible marks.
Spray adhesive is useful for covering large surfaces quickly but should be applied carefully in a ventilated space. Foam tape or dimensional adhesive squares can be used to lift certain elements off the page, creating a layered, 3D effect that adds visual interest.
Cutting and Trimming Tools
Precision is key in scrapbooking, and that’s where the right cutting tools make all the difference. A sharp pair of craft scissors is essential, but a paper trimmer provides cleaner, straighter cuts for photos and backgrounds. For detailed designs, craft knives and cutting mats allow greater control and creativity.
Punches and die-cut machines expand your creative possibilities. They can produce intricate shapes, borders, and lettering without tedious hand-cutting. Manual die-cut machines like the Sizzix or electronic options such as Cricut let you personalize designs, from custom titles to themed embellishments. Keeping your blades sharp ensures smooth, accurate results.
Edge trimmers and corner rounders also add finishing touches. Rounded edges give photos a soft, elegant feel, while scalloped or zigzag edges create playful energy. These small adjustments can elevate the visual balance of your entire layout.
Decorative Embellishments
Embellishments bring personality and emotion to scrapbook pages. They transform a simple design into something expressive and unique. Popular embellishments include stickers, ribbons, buttons, washi tape, and fabric flowers. These can highlight certain themes or add texture to flat designs.
For a more sophisticated look, consider using chipboard shapes, wooden cutouts, or metal charms. These materials create contrast and a tactile experience. Sequins and pearls can add a touch of glamour, while twine or jute cord introduces a natural, rustic aesthetic.
The key to using embellishments effectively is moderation. Overloading a page can distract from your photos and story. Aim to create balance by grouping elements or repeating similar motifs throughout your layout for consistency.
Stamping and Inking Techniques
Stamps and inks are versatile tools for adding both artistic flair and functional design elements. With clear or rubber stamps, you can add patterns, borders, and text to your pages effortlessly. Choosing the right ink depends on your purpose: dye-based inks dry quickly and are ideal for crisp lines, while pigment inks take longer to dry but produce richer, more vibrant colors.
Inking the edges of paper or photo mats can add definition and depth to your layout. This technique, known as “distressing,” gives a vintage or handmade look. You can also blend multiple ink colors with sponges or brushes to create soft transitions and artistic backgrounds.
Embossing is another technique that pairs beautifully with stamping. Using embossing powder and a heat tool, you can create raised textures that shimmer and catch the light, giving your pages a luxurious finish.
Tools for Writing and Lettering
Words give context to your visuals, and the tools you use to write them matter. Archival-quality pens ensure that your journaling remains clear and does not fade over time. Choose pens that are acid-free and waterproof for the best results. Fine-tip markers work well for detailed writing, while brush pens add expressive, calligraphic strokes.
Experimenting with typography can also enhance the personality of your scrapbook. Try combining handwritten titles with printed text or stamped lettering for variation. Alphabet stencils and rub-on transfers are great options for achieving consistent, professional-looking titles without needing advanced lettering skills.
Adding Texture with Fabric and Stitching
Textile materials bring warmth and texture to scrapbook designs. Incorporating fabric scraps, lace, or ribbon can add softness and visual depth. Burlap, canvas, and felt work well for rustic or vintage-themed projects. Fabric adhesives or sewing directly onto the paper can secure these materials in place.
Stitching is a creative technique that blends craftsmanship with storytelling. Whether done by hand or with a machine, stitching can frame photos, outline borders, or create patterns. Use contrasting thread colors for emphasis or tone-on-tone stitching for a subtle effect.
Painting and Mixed Media Elements
Integrating paint, ink sprays, or pastels introduces an artistic layer to scrapbooking. Acrylic paints work well for adding bold strokes, splatters, or textured backgrounds. Watercolors can create dreamy washes that soften the design, while metallic paints bring brightness and luxury.
Stencil work allows you to add controlled designs like geometric shapes or floral motifs. Using texture paste or modeling paste with stencils gives your page a raised, three-dimensional look. Mixing media like paper, paint, and fabric expands your creative boundaries and makes every page one of a kind.
Essential Tools for Organization
A well-organized workspace makes scrapbooking smoother and more enjoyable. Storage boxes, drawer units, and compartmentalized containers keep your supplies accessible. Label everything clearly — paper stacks, embellishment jars, adhesives, and tools — so you can find what you need without interrupting your creative flow.
A cutting mat, non-stick craft surface, and good lighting are also must-haves. A bright, clutter-free area helps maintain focus and reduces errors. Keeping your tools clean and blades sharp ensures longevity and consistent results.
Photography and Printing Essentials
The quality of your photos directly affects your scrapbook’s appearance. Use high-resolution images and print them on photo paper designed for longevity. Matte finishes reduce glare, while glossy prints make colors pop. Experimenting with different sizes and shapes of photos adds variety to your pages.
Photo editing tools can help adjust lighting, contrast, and color tones before printing. You can also create custom collages or borders digitally to simplify your design process. Ensuring that your prints are water- and fade-resistant guarantees that your memories will last for years.
Building Your Starter Kit
For beginners, assembling a starter kit is a smart way to begin without feeling overwhelmed. Include essentials like a paper trimmer, scissors, adhesives, cardstock, patterned paper, pens, and a few embellishments. As your skills grow, you can gradually expand your toolkit with specialty materials and advanced devices like die-cut machines and embossing tools.
Investing in quality supplies from the start saves money and frustration in the long run. Durable tools, archival materials, and reliable adhesives ensure your creations stand the test of time.
Evolving with Technology
Scrapbooking continues to evolve alongside modern tools and technology. Digital die-cutting machines, photo-editing software, and online design platforms have opened new creative possibilities. You can now design elements digitally, print them at home, and combine them with traditional materials for a hybrid approach.
Technology also helps with organization — apps and digital planners make it easier to catalog your projects, track materials, and manage ideas for future layouts. Embracing these tools allows you to merge classic craftsmanship with modern efficiency.
Finding Your Material Aesthetic
Every scrapbooker eventually develops a personal material style — some prefer soft, vintage textures, while others lean toward bold, minimalist designs. Exploring different materials, tools, and techniques helps you discover what feels most natural to your artistic voice.
Collecting unique materials from travels, nature, or even everyday packaging can add authenticity to your work. A small ribbon, a pressed leaf, or a handwritten note can become the detail that transforms an ordinary page into something unforgettable.
Your choice of materials and tools shapes the way your memories are presented. With experimentation, care, and creativity, every element you use becomes part of a bigger story — one that reflects who you are and how you see the world.